Follow the directions below to create your daisy design.
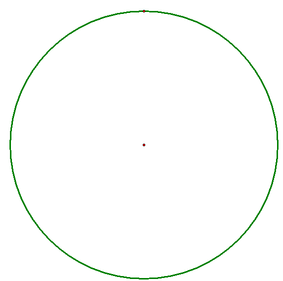
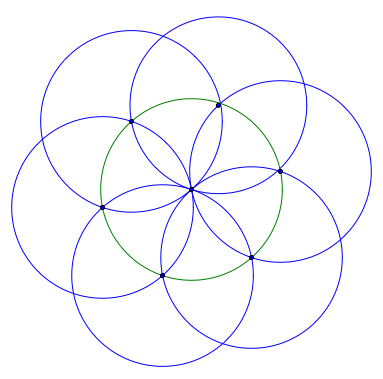
STEP 1: To make your daisy design, start by making a circle with your compass.
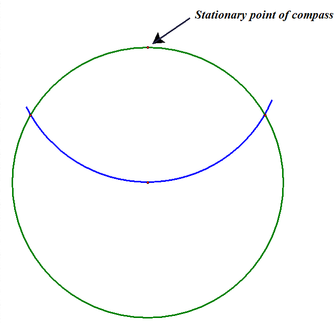
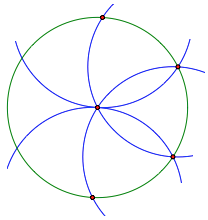
STEP 2: On any point on the circle, place the stationary part of your compass and make an arc that goes through the circle. The arc should pass through the center and should extend to each side of the circle. Be sure you keep your compass the same width!
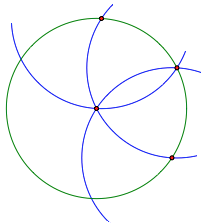
STEP 3: Do it again, this time placing the stationary point where your first arc intersects your circle. Continue this process.

|
|
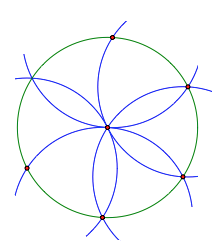
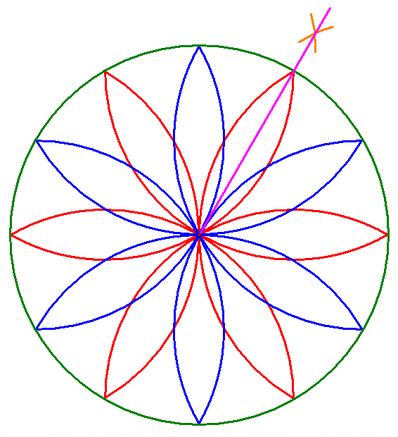
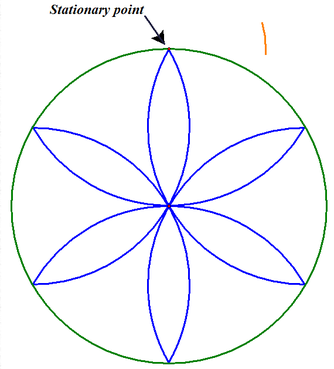
STEP 4: Once you make 6 arcs, you'll have a petal daisy design! It should look like this:
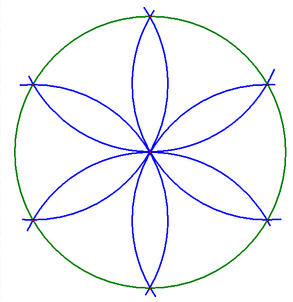
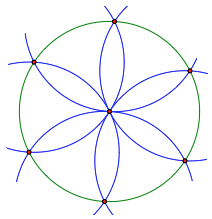
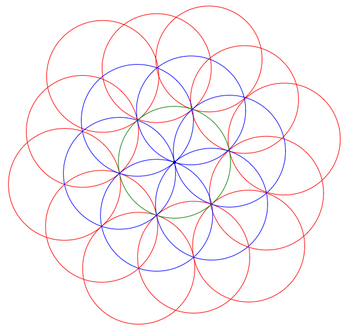
STEP 5: If you want, you can extend each circle to expand your daisy design across the page. See examples below.
|
|
|
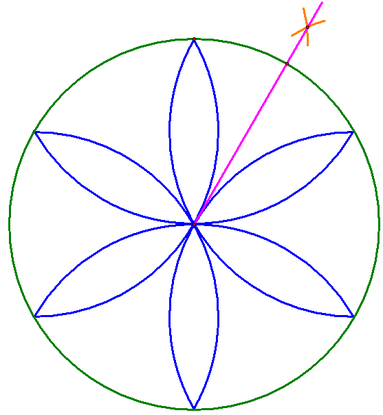
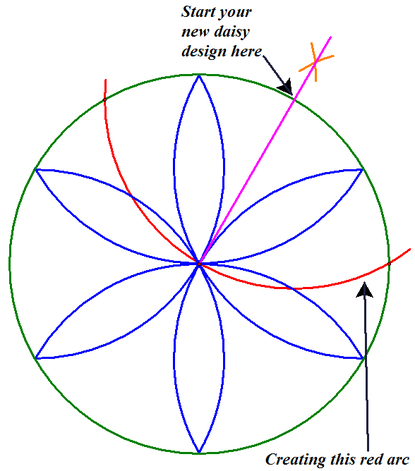
STEP 6: Now, to make a 12 petal daisy design, go back to your original stationary point and make a small arc outside of the circle. (It will be easier to keep your compass at the same width, but you don't necessarily have to.) You want your arc to be halfway between the two closest petals of your 6 petal daisy design because ...
|
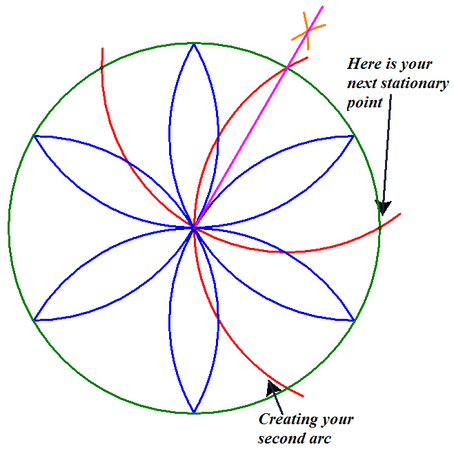
STEP 7: ...keeping your compass the same width, you're going to make a second arc that intersects the first arc (from the second petal):

|
STEP 8: This creates a midpoint between the two petals. (Do you see why?) Connect the center of the circle to the intersection to find the middle of the arc between the two petals.
STEP 9: Now, from this new mark on the circle, start another daisy design! Finding the midpoint ensures that your new daisy design will be spaced out equally.
STEP 10: Continue as you did in the first daisy design, creating a new 6 petal daisy design.
STEP 11: You should end up with a 12 petal daisy design!